This is a little book of special dates that I designed and created for CMIT.


Supplies used:
- Quickkutz/Lifestyle Crafts Santa's workshop wintergreen folder
- Quickutz/Lifestyle Crafts Santa's workshop wintergreen page die
- Quickutz/Lifestyle Crafts Santa's workshop sugarplum page die for inserts and cover
- Quickutz/Lifestyle Crafts Santa's workshop sugarplum page mat
- Quickutz/Lifestyle Crafts Nesting Balloons CC-Balloons-02
- Quickutz/Lifestyle Crafts Scallop Set CC-BDR-064
- Quickutz/Lifestyle Crafts Nesting Frames L-CC-008
- Prima stamp set
- My Favorite Things cloud dies
- My Favorite Things Four point frame stamp set
- Chocolate/green/kraft paper from Aussie Scrap Source
- Patterned papers from Scenic Route
- Twine from 'The Twinery'
- Sewing machine and white cotton thread
- Whisper white paper from Stampin' Up
- Chocolate chip ink from Stampin' Up
- White Kraft ink for brushing edges with dauber/sponge
How to:
- Punch out 1 wintergreen folder
- Punch our 6 wintergreen page dies
- Punch out 7 sugarplum page dies (6 white and one kraft)
- Punch out 12 nesting frames die for the tabs
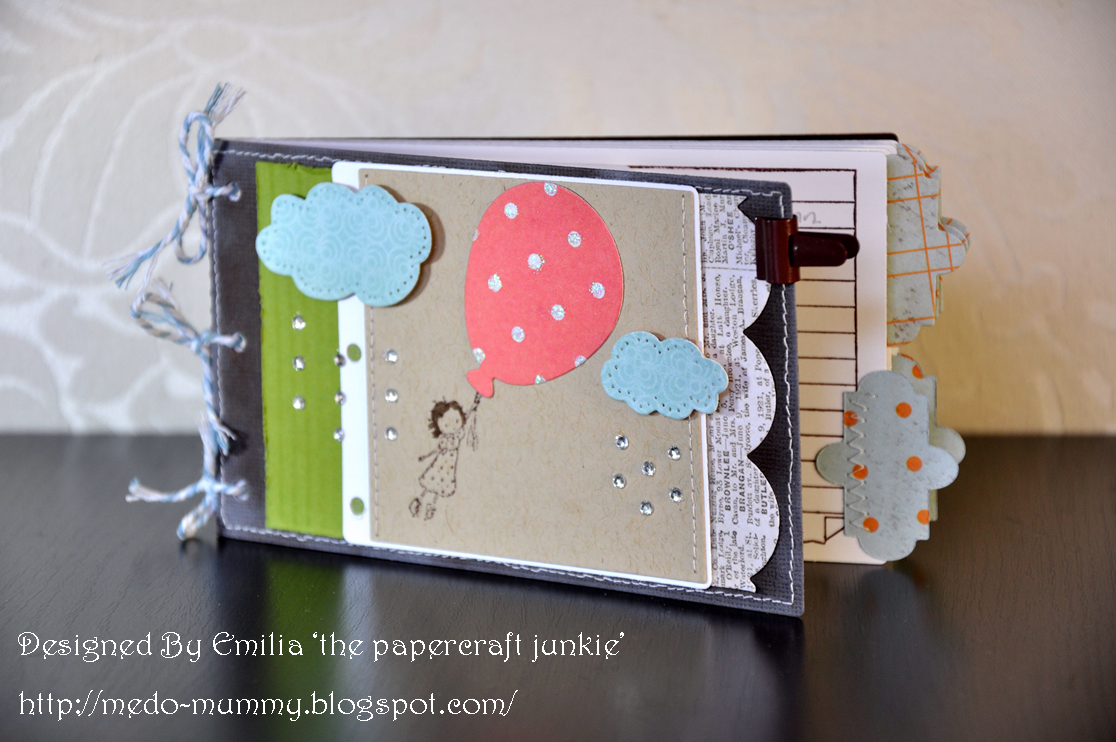
- Punch out 1 Balloon from nesting ballons
- Stamp image on Kraft with chocolate ink and cover stamped image of balloons with 1 nesting balloon
- Punch out 2 clouds form MFT's cloud trio, faux stitch the edges and mount on foam squares
- Punch our wave edge as tall as sugarplum page insert (usinf newspaper print cardstock from Scenic Route)
- Soften edges of the binder with white ink and a dauber
- Faux stitch all around the binder cover
- Corrigate and cut out green piece of paper as tall as sugarplum page insert
- Stitch together sugarplum page mat (stamped with image on kraft) and sugarplum page die (cut out in white) the attach to either side the green corrigated edge and scalloped edge
- Mount the clouds on the card and embelish with bling for the rain.
- Tie the folder and inserts together with twine
Ta Da!
All done....great as a gift or to keep for yourself. I chose the later ....wicked lol!
My next CMIT project..........Halloweeeeeeeeeeeen!
0 comments:
Post a Comment